Growing your own mushrooms at home can be a transformative experience, and if you're looking to…
Dub Tub Tek Fruiting Instructions Using 3-In-One Tub Kit
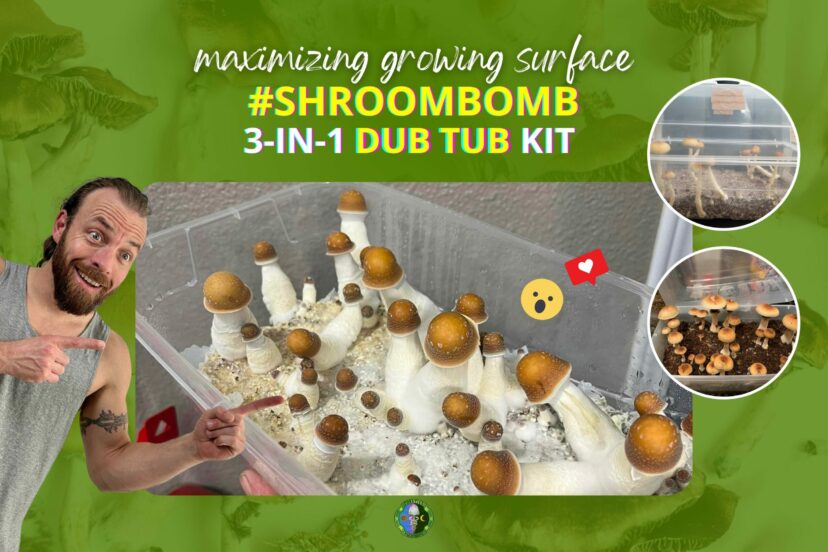
Dub Tub Tek: Step-by-Step Guide to Mushroom Fruiting Technique. Are you a mushroom enthusiast looking to try the dub tub mushroom fruiting technique?
Dub Tub Tek with Curative Mushrooms’ Grow Kit
In this blog post, we will provide you with step-by-step instructions on how to use the dub tub kit to grow your own mushrooms.
From preparing the supplies to injecting the spores and setting up the tub, we’ll guide you through the entire process. So, let’s dive in and get started!
Introduction to the Dub Tub Tek
The Double Tub Technique or “Dub Tub Tek,” is a popular method in mushroom cultivation for growing various mushroom species, including happy mushrooms.
Additionally, it is a simple and effective method that involves using plastic storage tubs. The tubs help create a controlled environment for mushroom growth.
Moreover, the term “Dub” is derived from the acronym “Double Tub.” It refers to the use of two plastic tubs. Specifically, one tub is placed on top of the other, to create a sealed and humid environment.
Furthermore, the inner tub, containing the substrate and mycelium, is the “spawn tub,” while the outer tub serves as the “fruiting chamber.”
Step 1: Unboxing and Preparing Supplies
- To begin, open the tub kit and take out the contents.
- Inside the kit, you’ll find a card with website information and support channels. Keep it handy for future reference.
- Additionally, set aside the grain and CVG (coconut coir and vermiculite) components.
- Before proceeding, it’s essential to Shake the spore syringe really well for about a minute to make sure the spores are spread out nicely and any clumps are broken up. This process guarantees even distribution of the spore content within the syringe.
- For further preparation, use an alcohol-soaked paper towel to wipe down the grain bag and its injection port, avoiding the patch area.
Did you know? Coconut coir and vermiculite (CVG) are commonly used together as bulk substrates in mushroom cultivation. They create a nutritive and moist environment that the mycelium needs, helping it colonize and produce fruits. On the other hand, the grains are typically used as the spawn. It is mixed with the bulk substrate to introduce the mushroom mycelium for colonization.
Learn more about Different Mushroom Substrates
Step 2: Injecting the Syringe
- Clean your hands with alcohol and spray the paper towel again.
- Place the paper towel on top of the injection port and prepare the syringe.
- If using a new syringe, attach a brand-new needle.
- Shake the syringe once more and proceed to inject approximately 2 cc’s of spore solution into the bag.
- To ensure even distribution, gently mix the grains in the bag, distributing the injected water evenly.
- Additionally, carefully pull a small amount of air into the bag to create an air exchange.
- Once done, store the bag in a cool, dark area with a temperature between 75°F and 80°F around 30 days.
Did you know? In the double tub tek, carbon dioxide (CO2) accumulates inside the sealed environment, signaling the mycelium to transition to the fruiting phase. When there's more CO2 around, mushrooms start producing primordia, which helps them grow. Keeping the airflow in check ensures the ideal CO2 balance for optimal fruiting.
Transitioning to Fruiting Phase with the Dub Tub: Step 3
- Assuming you’ve stored the bag as instructed, it should turn fully white after about three weeks.
- Once the bag is fully colonized, retrieve your tub and prepare for the fruiting stage.
- Wipe down the tub with alcohol, ensuring cleanliness.
- Next, cut open the colonized Grain bag and transfer its contents into the tub.
- Make sure to break up the grain inside the tub, ensuring even distribution.
- Then, cut open the CVG bag. And add it to the tub on top of the grains, saving a small amount for later use.
- Thoroughly mix the contents of the tub, breaking up any chunks and evenly distributing the CVG and grains.
Step 4: Creating a Casing Layer
- To create a suitable environment, level out the tub’s contents by gently patting down the edges.
- Add a very thin layer of CVG on top, covering all exposed grains. This thin CVG layer serves as a casing layer, promoting proper moisture retention.
- Pat down the edges to prevent moisture from seeping down the sides. Also, ensure the entire surface is covered with the casing layer.
Step 5: Lid Placement and Fruiting for the Dub Tub
- Place the lid on the tub, but do not snap it shut.
- Label the tub with the date.
- Store the tub in a suitable environment with temperatures between 75°F and 80°F.
- After around a week, you’ll start to see water gathering at the edges and mycelium starting to grow.
- Once the white mycelium covers the entire top surface, gently remove the lid.
- Carefully shake off any water droplets from the lid and place it back, unsnapped, on top of the tub.
- Alternatively, you can use a second tub. Place it upside down as a dome and secure it with tape to create a dub tub for optimal climate control.
Congratulations! You’ve successfully unboxed and set up your mushroom dub tub kit!
Now, all you need to do is provide the right environmental conditions and patiently wait for your mushrooms to fruit. In the meantime, remember to follow proper hygiene practices to ensure a healthy growth process. So, sit back, relax, and enjoy the exciting journey of growing your own mushrooms. Happy mushroom growing!*




Comments (0)